
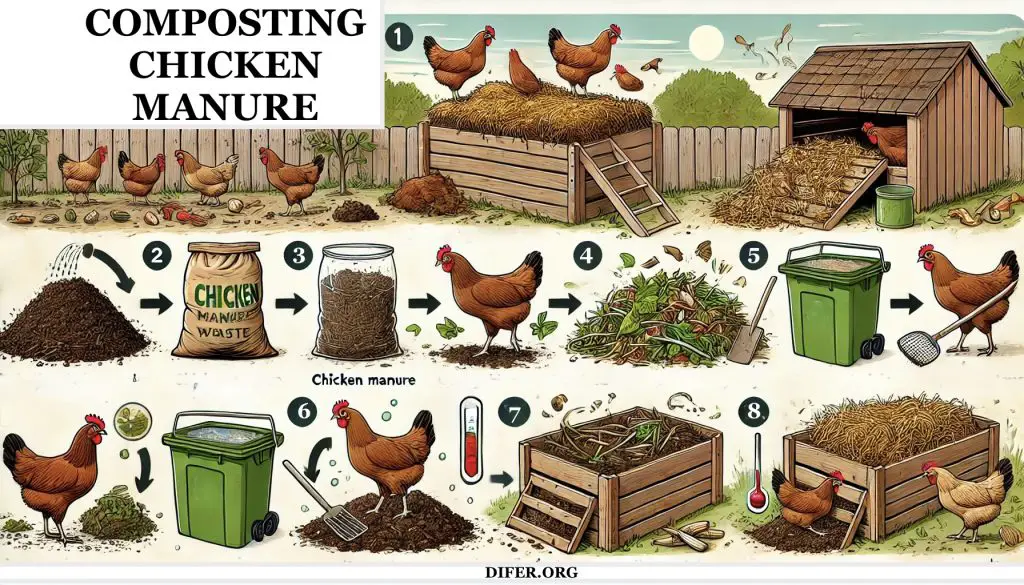
Composting Chicken Waste: Tips, Tricks, and Advice
Why Composting Chicken Manure is Essential
Fresh chicken manure is a “hot” manure, meaning it’s very high in nitrogen and can easily burn plant roots if applied directly. It may also contain pathogens like E. coli or Salmonella. Composting neutralizes these risks through a controlled, heated decomposition process. The benefits are profound:
- Soil Health Supercharger: The finished compost is rich in nitrogen, phosphorus, potassium, and beneficial microbes, drastically improving soil structure, fertility, and water retention.
- Pathogen & Weed Seed Reduction: The heat generated in a properly managed compost pile (130-150°F / 54-66°C) effectively kills harmful bacteria and weed seeds.
- Odor Elimination: A balanced compost pile doesn’t smell bad; it develops a pleasant, earthy aroma as the microbes work.
- Waste Reduction: It closes the loop on your homestead, turning bedding and manure into a valuable resource, reducing your need for chemical fertilizers.
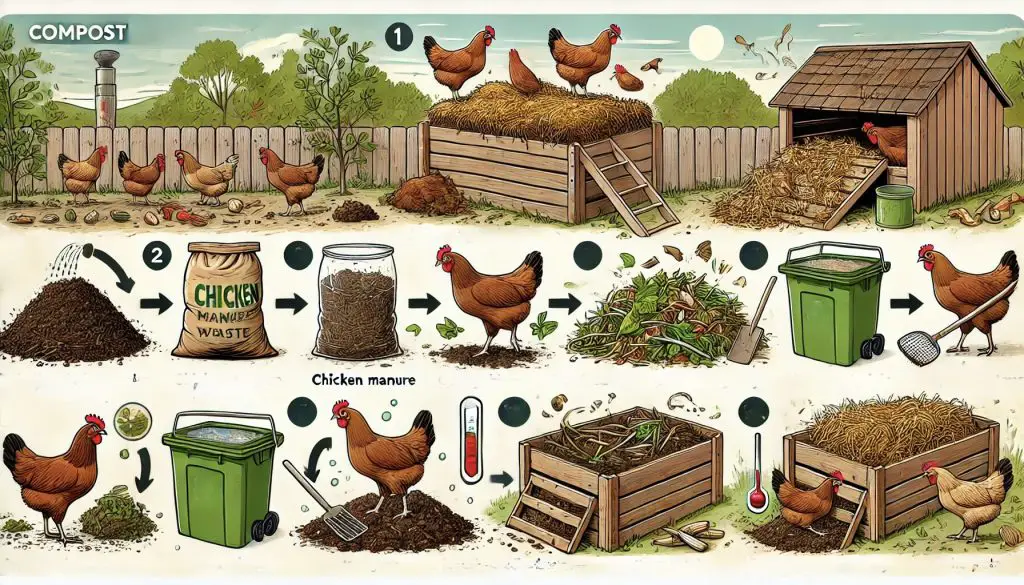
The Core Principles of Composting Chicken Manure
Successful composting hinges on balancing four key elements. Think of it as creating a five-star hotel for decomposing microbes.
1. The Carbon-to-Nitrogen (C:N) Balance: The Golden Ratio
This is the most critical factor. Chicken manure is a quintessential “Green” (Nitrogen-rich) material. To balance it, you need “Browns” (Carbon-rich) materials.
- Greens (Nitrogen): Chicken manure, kitchen fruit/veggie scraps, fresh grass clippings.
- Browns (Carbon): Straw, pine shavings, dried leaves, shredded cardboard, paper, or sawdust.
The Ideal Ratio: A C:N ratio of 25:1 to 30:1 is the target for efficient composting. In practical terms, this translates to roughly 2 parts browns to 1 part greens by volume. Since your coop bedding is already a brown, you’re off to a great start, but you will almost always need to add more carbon sources to the compost pile itself.
2. Moisture: The “Wrung-Out Sponge” Standard
Microbes need water to live, but too much water drives out air and creates a smelly, anaerobic environment.
- Too Wet? The pile will smell like ammonia or rotten eggs. Fix it by adding more browns and turning the pile.
- Too Dry? Decomposition grinds to a halt. Fix it by lightly watering the pile as you turn it.
- Goal: The pile should feel like a well-wrung-out sponge.
3. Aeration: Give Them Air!
The hardworking microbes need oxygen. Turning your pile introduces air, mixes materials, and speeds up decomposition.
- Frequency: Turn the pile every 1-2 weeks with a pitchfork or compost turner.
- Benefit: Regular turning prevents compaction, manages moisture, and ensures all materials spend time in the hot center of the pile.
4. Temperature: The Gauge of Success
Heat is a byproduct of microbial activity and your best indicator that the process is working.
- What to Aim For: 130-150°F (54-66°C). Use a compost thermometer to monitor this.
- Why It Matters: This temperature range is key to pasteurizing the compost, eliminating pathogens and weed seeds effectively.
Timeline & Curing: When is it Ready?
Composting chicken manure is not a quick process. Patience is vital for safety and quality.
- Active Composting: 2-3 months. The pile will heat up, then gradually cool down.
- Curing: At least 2-3 additional months. After the active phase, let the compost cure. This allows microbial activity to stabilize, creating a mature, plant-safe product that won’t burn roots.
- Total Time: Plan for a minimum of 4-6 months from start to finish.
Your compost is ready when it’s dark, crumbly, and smells like fresh earth. You shouldn’t be able to identify the original materials.
What NOT to Compost
Never add the following to your chicken manure compost pile:
- Meat, Bones, or Dairy: Attracts pests and can create pathogens.
- Oily or Greasy Foods: Disrupts the composting process.
- Diseased Plants: The pile may not get hot enough to kill all plant diseases.
- Dog/Cat Feces: Can contain parasites harmful to humans.
Advanced Methods & Integrated Systems
The Deep Litter Method in the Coop
This is a form of in-coop composting. Throughout the cold months, you continuously add carbon-rich bedding (like pine shavings or straw) on top of the droppings. The bedding absorbs moisture and begins to compost slowly, generating heat to warm the coop. In spring, you clean out the entire carbon-manure mix, which is already partially composted and makes an excellent “green” material for your main compost pile.
Harnessing Black Soldier Fly Larvae (BSFL)
BSFL are composting powerhouses and a fantastic addition to any chicken-keeping system.
- Hyper-Decomposers: They devour kitchen scraps and manure much faster than traditional composting.
- Self-Harvesting: The larvae mature and crawl out of the compost to pupate, making them an easy, high-protein treat for your chickens.
- Nutrient Boost: Their digestive process creates a frass (manure) that is incredibly rich in calcium and other nutrients, further enriching your compost.
To attract BSFL, keep a separate, open-bottomed compost bin in a sunny location. They occur naturally in warmer climates but can be introduced.
Special Considerations & Cautions
Wood Ash in a Chicken Coop, Use Carefully.
Here are the Pros and Cons of using wood ash in your chicken coop
✅ Benefits of Wood Ash for Chickens:
- Natural Dust Bath Ingredient: Chickens love rolling in ash; it helps control mites, lice, and other external parasites. Always mix wood ash with sand, soil, peat moss, leaf litter, or saw dust to make it safe and enjoyable for your birds.
- Mineral Source: Ash contains calcium, potassium, and trace minerals, which can benefit hens if consumed in small amounts.
- Odor Control: Can help absorb moisture and reduce ammonia smells when mixed into litter.
⚠️ Potential Problems & Risks:
- Type of Wood Matters
- Only use ash from untreated, natural hardwoods.
- Never use ash from pressure-treated wood, painted wood, charcoal, or trash—these can contain toxins.
- Dust Inhalation
- Fine ash can irritate chickens’ lungs (and yours!). Use sparingly and avoid creating clouds of dust when adding it.
- Overconsumption
- While a little ash is harmless, too much can affect digestion (it’s very alkaline). Provide grit and normal feed so ash isn’t over-eaten.
- Caustic if Wet
- When wet, ash can turn into lye (alkaline slurry) that irritates skin. Keep it dry in dust bath areas, not in damp corners of the coop.
👍 Best Practices for Using Wood Ash in a Coop:
- Mix ash with sand, soil, or peat moss for dust baths (about 1/3 ash, 2/3 other material).
- Place in a separate dust bath box/area, not loose across the whole coop floor.
- Clean and refresh regularly to prevent buildup of droppings or moisture.
👉 Bottom line: Wood ash is safe for chickens in moderation and when used correctly in dust baths. The biggest risks come from toxic wood sources, inhalation of fine dust, or wet ash turning caustic.
Is Wood Ash Safe for the Coop or Compost?
Wood ash can be used, but with extreme care.
- In the Coop: A small amount mixed into a dust bath (e.g., 1 part ash to 3 parts sand/soil) can help control parasites. Risks: Wet ash becomes caustic lye, which can burn skin. Fine dust can irritate lungs. Never use ash from treated, painted, or charcoal briquette wood.
- In the Compost: Ash is alkaline and can be sprinkled sparingly into the pile to neutralize acidity. However, it can also raise the pH too high. Use it minimally, if at all.
Verdict: For most, it’s simpler and safer to avoid wood ash in both the coop and compost. In small amount in dry areas it can help with odors and raise pH if needed.
Black soldier fly larvae (BSFL) are actually fantastic for composting and can help make your compost richer and faster. Here’s why:
- ♻️ Fast decomposition: Soldier fly larvae eat through kitchen scraps, manure, and organic waste extremely quickly — much faster than worms or natural decay. This speeds up the composting process.
- 🌿 Nutrient-rich compost: Their digestive process breaks down materials into a fine, nutrient-dense residue full of nitrogen, calcium, and phosphorus — perfect for garden soil.
- 🪱 Natural aeration: As they move through the compost, the larvae help mix and aerate it, preventing compaction and promoting healthy microbial activity.
- 🐔 Bonus protein source: If you keep chickens, ducks, or reptiles, soldier fly larvae are an excellent natural protein treat too.
SAVE 20% on Black Soldier Fly Larvae at GrubTerra use code: MARY20
Recommended Products for Composting Chicken Waste
This sections includes affiliated links to products to help you compost:
- A Quality Shovel: To move the chicken poop and waste.
- A Bucket: To shovel waste into and move it. This rubber bucket is also great for this job: https://amzn.to/4eThSaw.
- Compost Thermometer: To monitor the temperature of your compost pile.
- Compost Bin or Tumbler: For efficient composting in a contained space.
- Carbon-Rich Bedding Materials: Such as straw or wood shavings.
- Example: Kaytee Aspen Bedding
- Metal Watering Can or Hose: To maintain the moisture level in your compost pile.
- Compost Turner: A tool to help aerate the compost pile.
- Make your own eco-friendly, plastic-free compost bin with wire and pressure treated wood.
- Compost Accelerator: Formulated microbe blend of ingredients to promote oxygen and heat that naturally accelerates garden matter, leaves, grass clippings and kitchen scraps into nutrient-rich compost without harmful chemicals
By following these tips and using the recommended products, you can efficiently compost chicken waste, creating rich, fertile compost for your garden while contributing to a more sustainable environment.
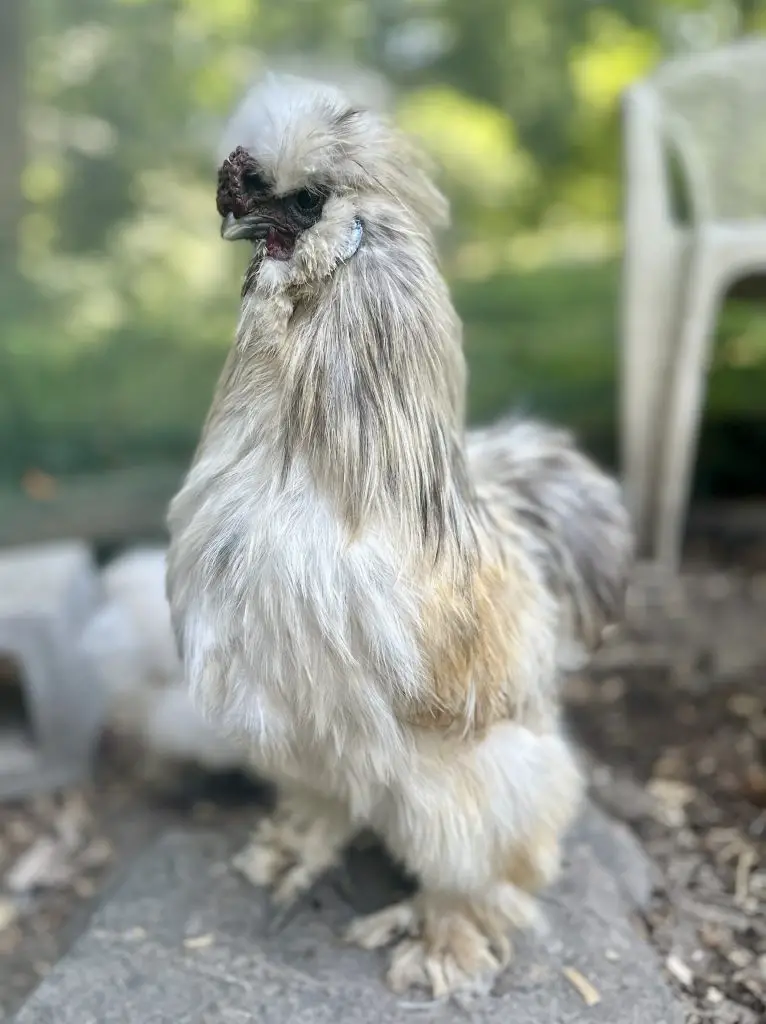
This is Chum Chum. He is an adorably, cute and sweet Silkie Rooster.
DIFER.ORG supports the reduction of waste and making useful things from what would otherwise be just waste


Such important info! Remember, never use fresh chicken manure directly in the garden, because it will burn plant roots. Also, a note for community gardeners or those buying manure: ensure it’s from a trusted source. If the chickens were fed certain herbicides (like some for weed control in hay), those can pass through and persist in the compost, harming your plants. When in doubt, hot compost thoroughly!
As a new chicken owner, I was totally overwhelmed by the mounting pile of dirty bedding. This guide made it feel manageable. Starting with the ‘deep litter method’ in the coop (adding carbon absorbents regularly) was a game-changer. It reduces the smell, starts the breakdown process, and means I’m composting mostly already-mixed material. Thanks for breaking it down without jargon!